The ability of a WordPress developer to work on local development is definitely considered to be one of the important skill sets. This is for the reason that local installation lets you do your job independently without any requirement of online connection. You can move ahead to test various levels of website changes as well as changes in the themes and plugins without bringing any changes to the website that is live. This makes your whole approach towards WordPress template customization very efficient.
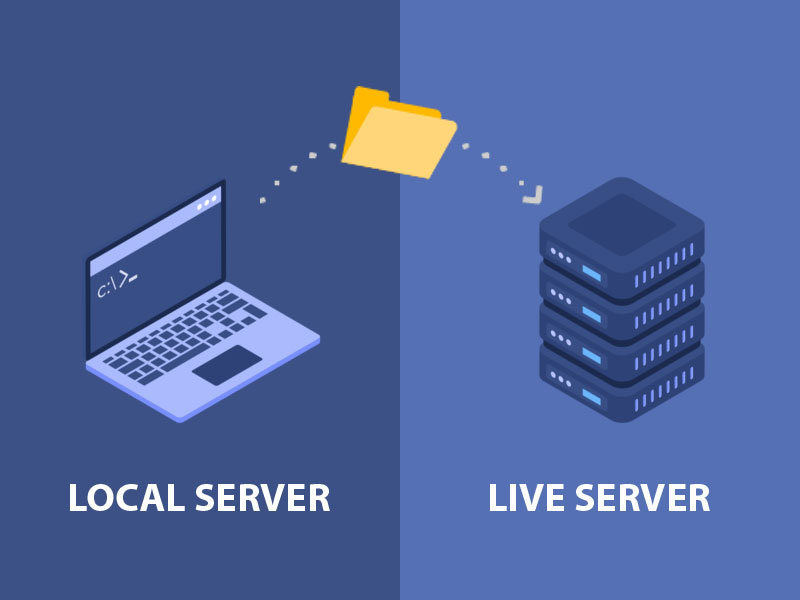
It is a matter of fact that all your effort will show its color, as soon as it is moved from your hard drive to the live server that is hosting the website. Once you are satisfied with your offline development work and feel that your live website is ready to get the updates, you can move your content to the live server to take charge. However, there are various ways to do it. You need to figure out which is the best way to transfer your content from the local server to live server.
In this piece of article, you will come to know about various ways of transferring content.
Ways to transfer data:
- Transfer content using in-built tools
- Manually transfer database
- Use plugins to transfer content
Transferring content using in-built tools:
If you want to transfer some of the content such as your blog posts, pages, media content to the live server, you can use the export feature in the WordPress and select the content you can export from the local server. Most of the hosting providers offer one-click installs, which you could think of doing manually.
You should make sure that check all the content you have selected for transfer before downloading the XML export file. When you have completed the export, you can move on to the live site and then import the XML file. If you do not have a WordPress importer plugin then install it first. You will find all the exported blog posts, media content and other custom content should be live on the live website. However, you need to configure your live website’s plugins and themes to be in line with the new changes. WordPress template customization can be achieved very swiftly without any issue.
Manually Transferring Data from local server to live server:
If you don’t want to take from any in-built plugin, you can do it yourself. This would be a bit of intimidating task, however, it has its benefits. In order to move the data from the local server to the live server, you need to follow a couple of steps.
- Exporting the local database: The transfer of content from the local server to the live server starts with exporting the local database. You need to download a copy of your local database by the use of phpMyAdmin. You need to type http://localhost/phpmyadmin/ to get onto the local database. Then you need to click on the export button to export the database. You can make of zip compression method if you find the size of the database is huge.
- Uploading your file to the live server: Once you have downloaded your local database, you need to set up the FTP client. You need to go to the root directory of your server and then upload files.
- Creation of a new database in the live server: The next step after uploading the files to the live server is to create a new database and add users to it. You need to key in username and password. You should then grant access privileges to the users. WordPress developers can carry out this task effectively.
- Import local database: Once your new database is ready you can import the exported database from your localhost. After successful upload, you need to also change the URLs inside the database. This is a tricky party and you need to be careful in attending every single URL. You need to replace all the instances that are pointing to the old localhost.
- Configuring your transfer: This is the last step of the transfer of content from localhost to live host. You need to edit the wp-config file of your live website. In the file, you need to alter the date name, database user, database password and data host. When you are done with this, you can move on to setting up permalinks of your preferred URL structure.
Transferring Content by the use of plugins:
There are more than a few plugins that enable you to transfer your content from the localhost to the live host. You need to begin installing the plugin on your localhost first. Then you need to create a site package. Once you are done with the package building, you can upload it on to your website that is live and then install it on the server to take charge. In the end, you can review the installation report as well as test the site to see if all the things have been moved properly.
By now, you should have got a clear picture of moving data back and forth in WordPress. You can attempt to transfer your content. If you are stuck at any point in time, you can get in touch with WordPress developers.
You May Like:
- 10 Advantages of Custom Application Development
- An Overview of MongoDB as a Leader in NoSQL Database Management System
- 9 Tips You Must Follow for the Security of Your E-commerce Website
- 6 Hacks For Nailing Your WordPress SEO
- Wix vs WordPress : Which is Best CMS For Web Development
- Top 20 Appetizing Food & Restaurant WordPress Themes
- 7 Best Cheap WordPress Hosting Services for Website Owners
- Best 20 Popular Feminine Blog/Shop WordPress Themes in 2018
- WordPress 5.0 Latest Release – All You Should Know