Photoshop is an awesome tool for retouching and manipulating images. Here, we will discuss how you can create your own textures and apply them easily.
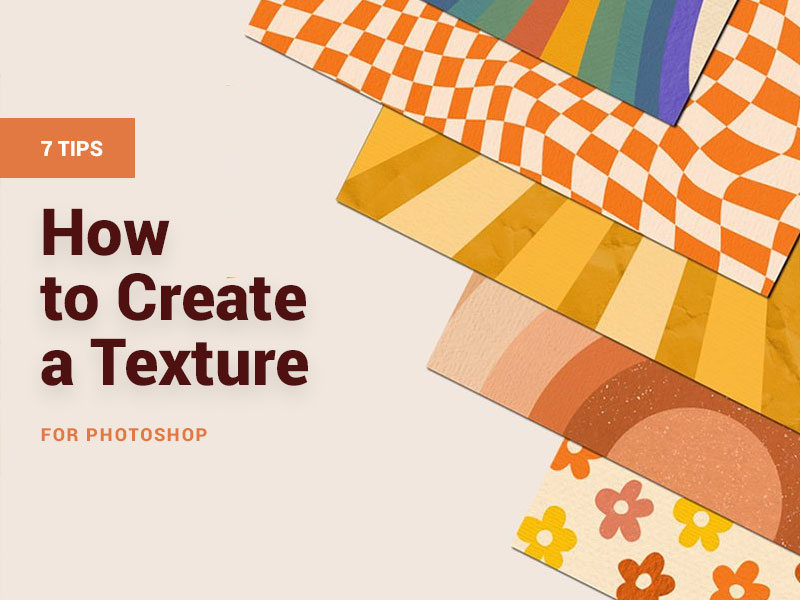
Texture is just another layer added to the photograph by using an editing program like Adobe Photoshop. Photoshop textures are used in many ways, including the creation of backgrounds. There are many wonderful options like wood, charcoal, plastic texture, and many more. The correct texture overlay and its right application will add more depth. It can be used for anything – you can add a vintage look and even create pieces of fine art. Old, damaged photos can be wonderfully rescued by adding a texture.
Texture can be added to all types of images. Almost any image can work, but the best textures are often close-up or macro photos that have some sort of pattern. The weave of fabric, for instance, or patterns of leaves, the sand on a beach or a wall of peeling paint. The key is to choose a pattern based on how it will impact the subject. For example, if you want to make a portrait appear gritty, grimy and rough, adding a texture overlay can go a long way to helping reinforce that sentiment. To simply add an analog feel, a patterned texture may work. Or for a bolder special effect, consider using something bolder for an almost multiple-exposure effect.
How to Create a Texture for Photoshop?
The easiest way, probably, would be to find a ready-made physical texture of something (wood, paper, leather, etc.) and scan it. But for a better result, it would also require doing it in a high resolution with an extensive editing and image cleaning process. Thankfully, there are many tools in Photoshop that will help you create a better photo. The Filter Gallery is one of them. Following a couple of simple steps will get you going on the smooth workflow with a set of transparent steps you need to take.
1. Set Up the Document
Set up the file in the first step. The default Photoshop size of 300 pixels/inch should be good for this. Now, ensure that you have selected RGB Color under the Color Mode because some filters will not work when you are working in CMYK (Cyan, Magenta, Yellow, Key).
2. Add the Base Color
Now, it is time to add the base color of your image. This will give your Filter Gallery what it needs to work with. Nothing is going to happen if you keep this blank while applying the texture.
Consider adding a black and white gradient. When you work with black and white, you do not need to worry about how your colors are going to react when you apply the texture to an image. For instance, if you create a yellow-colored texture and apply it to an image that is blue-tinted, then your image is going to appear green.
Go to the toolbar on your left for applying a gradient. Now, click the Gradient tool and click-drag your cursor across your page. Release.
Download: 15+ Free Premium Dark & Light Seamless Wood Textures
3. Filter Gallery
Open the gallery after applying the gradient. Filter > Filter Gallery. You will be creating the texture here.
You will have a workspace once you are at the Filter Gallery. The image you want to work on will be at the center. There will be a few folders on the right side. You will see many rectangular icons if you click these folders. There will be a name below each one of them. They are the filters.
In Photoshop, the filters are grouped depending on the kind of effect they produce. Click on the small white arrow close to the folders to explore the many groups.
Many designers and artists are still wary of using filters because they believe these are just cheap gimmicks. However, you should know that in Photoshop, the filters can add very powerful effects. The result can be quite amazing if you use the filter correctly.
You don’t have to restrict yourself to just one filter. Yes, you can add a second and even a third filter if you want. Try and experiment with many filters to find out how they interact to create interesting new effects. You will find a filter stack in the Gallery Panel where you can preview how the different filters will work together.
4. Apply Your Filter
Let us take an example to understand this better – the Halftone Pattern, which is very common.
Go to Sketch > Halftone within your gallery. This will apply the filter automatically to the image. However, you must customize.
5. Adjusting the Filter
Let us assume that you want to make your texture bigger. For this, you need to go to the Size bar, which is in the right side of your Filter Gallery. Slide the arrow along the Size bar. Your halftone dots will appear larger.
However, the dots may still look quite blurry as the contrast between white and black is low. Go to the right of your Filter Gallery to correct this. Here you will see the Contrast bar. Click on this bar and drag the arrow to the right. The contrast will go up.
You are still half done. You can make your texture look unique by changing the pattern type.
Download: Best Textures For Graphic Designs
6. Changing the Pattern Type
For this, visit the Pattern Type dropdown menu. Select Line. You will now get a streaked texture. Click OK if you are planning to keep this texture. You will then leave the Filter Gallery and return to your main workspace.
The texture you have prepared can be applied to images. But you must save it before using. File > Save As.
7. Applying the Texture
Let us assume you wish to apply your texture to another file. For this, both the files should be open in Photoshop – the image where you will be applying and the texture. Also, ensure that the file with your texture is active. Now, select the Move tool, which you will find in the toolbar’s top left-hand corner. Move the tool over the image. Click and hold. Drag the Move tool over to the file of the image.
Photoshop is going to drag and drop your texture automatically over the image. Go to the Layers panel. Go to the blending mode and select a style. Every style provides different effects.
Photoshop is a wonderful tool that helps us do so many things with images. Texturing and layering are two great ways to improve the photos.


