Everyone loves to see instant results for their efforts. And it will be more important if you are a frontend-web developer. Surely, you are! Me too! While we are developing our website-frontend, we need to know what’s going through visually.
As we are working with CSS which is very important for styling our pages, we have to pay attention to all the elements of our page. Let’s say, our page has two buttons. Only styling these 2 buttons, we have to add lots of styling to make them perfect. Like, adding background color, font size, padding, and the list go and go.
There is some desktop software for web development. The famous one is Brackets. No doubt, it has the option to show the actual web page you are making with the help of your default browser. But there is a problem with Brackets. You have to save your file every time after adding some styling or anything. And also, you have to refresh your browser. Adding all this styling to so many elements might create a mess with these kinds of software.
To solve this problem, Skriper Dev came into the internet world where a developer can create the frontend of their website. You can see your website visually instantly without saving or using any command.

Let’s see how we can use Skipper Dev effectively and get the much out of it as a developer.
How Skipper Dev Works?
Skipper is the online platform for web developers. We can make the frontend of our website visually without saving and refreshing. Thanks to Skipper Dev YouTube Channel, You can learn more about this platform and how to use it effectively. For now, let’s get deeper into it.
First of all, go to the Skipper Dev website. There you will find a bunch of options. Make sure you first signup and then log in to your account before starting any project. After that, click on the Start Coding button.
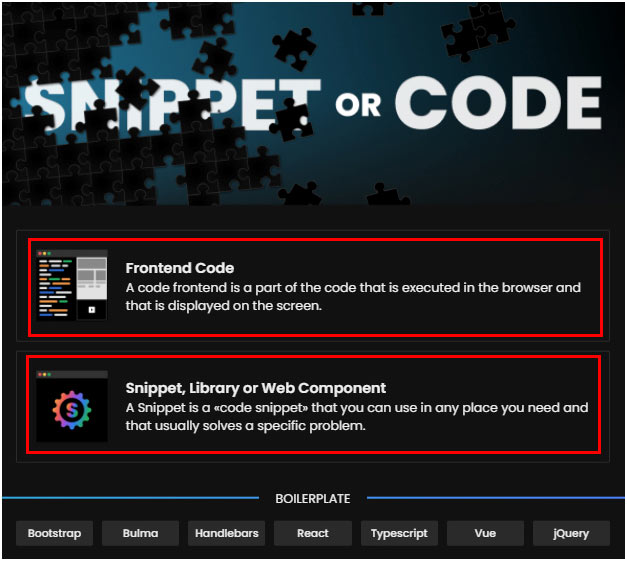
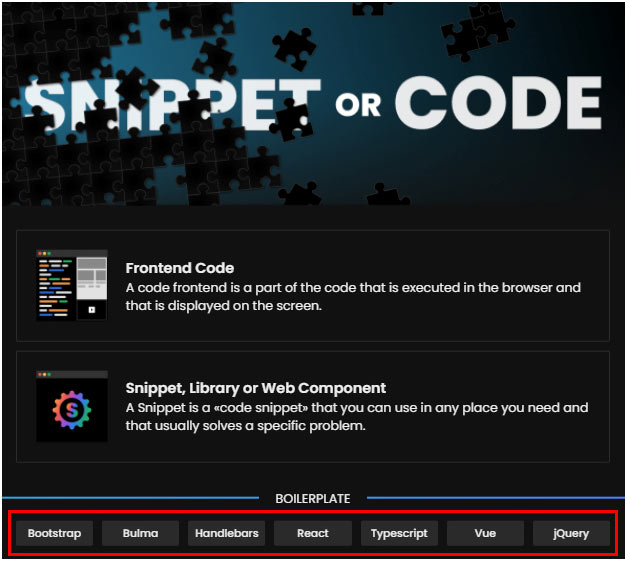
You will then see two different options. The Frontend Code option will lead you to the normal frontend development platform. The 2nd option will also lead you to the development part but here is something different. You can take snippets of your code which you can use in future.
Now, you are ready to work on your project with an instant visual view.
Skriper Features
It’s time to look at some of the useful features Skriper Dev gives to frontend developers. So, keep reading to get the most out of this amazing website.
1. Customizable Image of Code
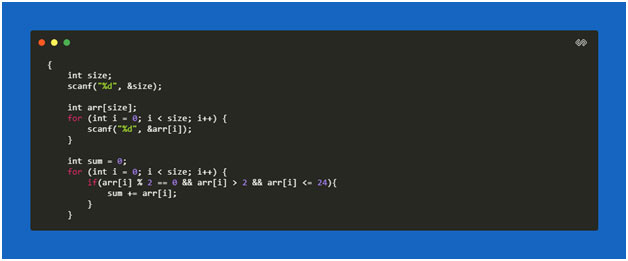
The best part of Skriper Dev is that you can convert your code into a customizable image. Whatever code of the language you have, just copy and paste and there you go.
To do this, go to Start Coding -> Snippets. A new window opens where you can paste your code. Then enter CTRL+.(dot). A popup appears with some customizable options that you can play around with them and easily download the image by clicking on the download button. This is a great way to send any code in an image format. The final image will look like this.
2. Advance Autocomplete Editor
With the powerful functionality of SkriperDev and super-fast speed, you can write your code and it will be autocompleted that you may have experienced in multiple software while working as a frontend developer. This way, your lot of syntax problems will solve without paying much attention.

3. Frameworks and Libraries Access
As we know, javascript has different libraries. For example, JQuery and React. Similarly, CSS has its frameworks like BootStrap. SkriperDev allows us to use these framework and libraries which enhance the functionality of our frontend website.
When you click on the Start Coding button, you will see a bunch of different frameworks and libraries’ names at the end of the new popup window. Whatever you want to use, click on it, and a new project opens and you are ready to create your own website using these frameworks and libraries.
4. Easy Compilation Method
As we are working with JavaScript and its libraries to make our website more appealing, we need to compile/run our code to see any errors. Skriper Dev makes it a lot easier when it comes to running our code.
There are two ways to do this. If you want to run your code manually, go to the down-left corner of the editor screen and hover on the Skriper Dev logo. You will see a bunch of different options there. To run the code, click on Run the Selected Code and there you go! Your code is compiled and you can see your results.
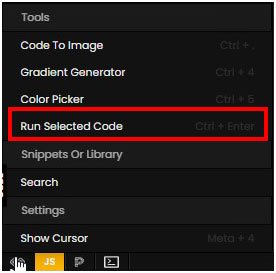
The 2nd method is very easy. Just click Ctrl + Enter (button) and your code will run automatically. But one thing you need to remember is that if you want to run your code line by line, don’t select the code. If you select all code and then run it, it will only don’t show you results line by line.
Skriper Dev Conclusion
A frontend-web developer only wants to make their websites amazing and cool. So, he/she needs to check every time after adding some kind of styling or content. Making the front end of a website in offline software requires lots of refreshing and saving of the files. You also have to pay special attention to managing files and content like images and videos.
With the help of Skriper Dev, all of your content manages online and you can download your project anytime in your account in just one click. Skriper Dev also allows us to save the customized image of our code which helps to use those images in your presentations or anywhere we want to use them. Skriper Dev makes your life super easy and you will fall in love with this amazing online platform if you used it once. So, what are you waiting for? Make your life easier with Skriper Dev.