Navigating the online world to find captivating visuals and compelling media has become an essential aspect of our digital experiences. Everyone from web designers and content creators to marketers and bloggers is always searching for high-quality stock media. Imagine being the driving force behind a platform that seamlessly connects these seekers with a multitude of virtual products. This tutorial presents a complete plan for creating your own stock media marketplace. With step-by-step instructions, we’ll lead you through the process of creating a dynamic online hub that bridges the gap between creators and consumers of digital content.
What is a Stock Media Marketplace?
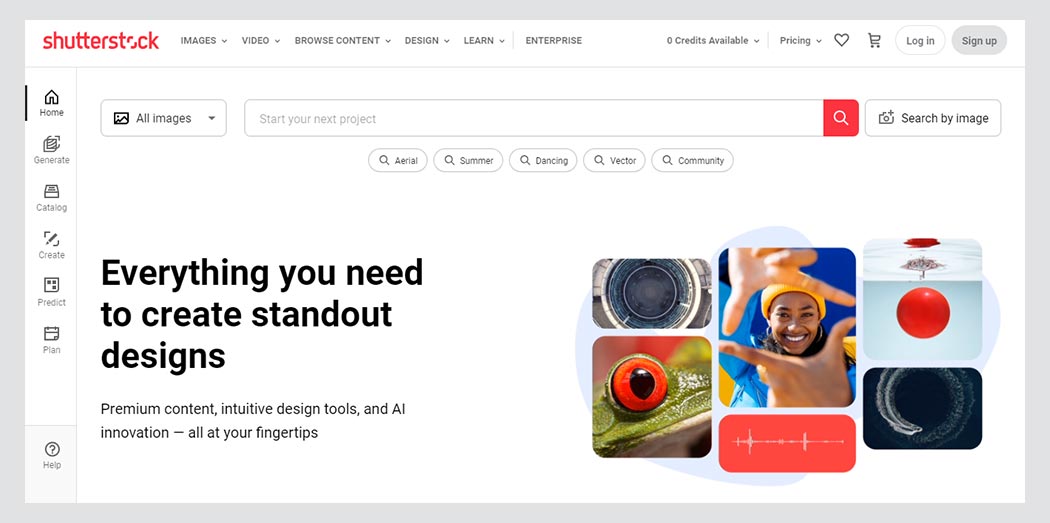
A stock media marketplace is a virtual platform where creators can showcase and sell their digital assets, such as images, videos, graphics, and so on. These marketplaces serve as a hub for individuals and businesses seeking high-quality media content for various creative projects. With a wide range of categories and options, users can easily find and purchase the perfect digital assets to enhance their designs, websites, presentations, and more. Popular examples include Shutterstock, Unsplash, and iStock.
Prerequisites for Building a Stock Media Marketplace
Creating your stock media marketplace requires a few key components:
- Hosting Plan
- Domain Name
- WordPress Installation
- Directory Plugin
- Directory Theme
While choosing a hosting plan and setting up your domain are pretty straightforward tasks, selecting the right directory plugin and theme can be challenging. In this guide, we’ll use HivePress, a free multipurpose directory plugin and the engine behind all the directory functionalities, as well as its adaptable ListingHive theme. These choices provide both ease of use and comprehensive customization options.
Once we have these basics covered, we can proceed with the tutorial and transform your stock media marketplace concept into a reality.
Steps to Create a Stock Media Marketplace
By following these steps, you’ll be able to launch your stock media marketplace in no time. Let’s begin by installing a theme.
Installing ListingHive and HivePress
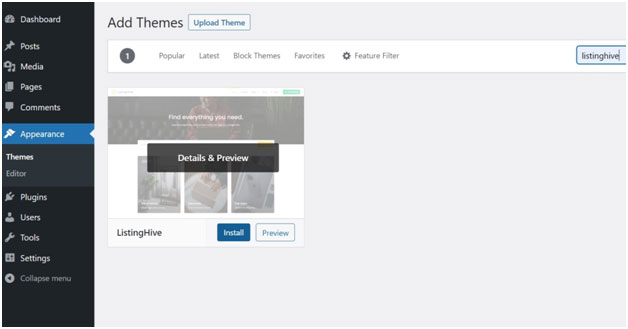
To install ListingHive, access your WordPress Dashboard and head over to the Appearance > Themes section. Click “Add New“, and search for ListingHive. Once located, initiate the installation by clicking the relevant button.
Once the theme is successfully installed and activated, a notification to install the HivePress plugin will appear. To continue, follow the link provided for the installation process. After installation, don’t forget to activate the HivePress plugin. These initial actions lay the foundation for our progress ahead.
Creating Stock Media Categories
Moving forward, it’s time to integrate stock media categories into your directory to ensure a seamless browsing experience for users. Let’s start by adding the essential ones: Photos, Videos, Illustrations, Graphics, 3D Models, and Textures. To proceed, go to the Listings > Categories section. Here, you’ll be able to specify category names, provide optional descriptions, and upload relevant category images. Complete the process by clicking the “Add Category” button.
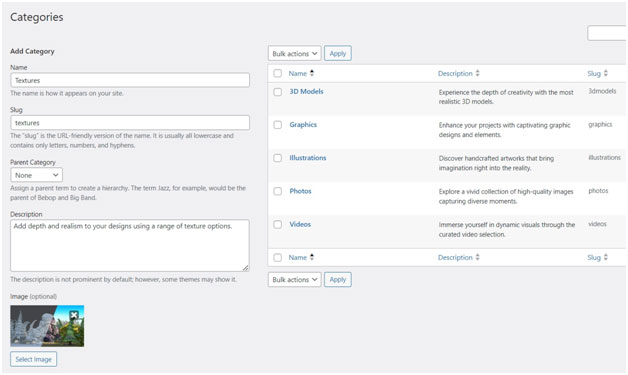
Feel free to expand your category list as needed. Furthermore, you have the flexibility to create subcategories under existing parent categories.
Adding Custom Listing Fields
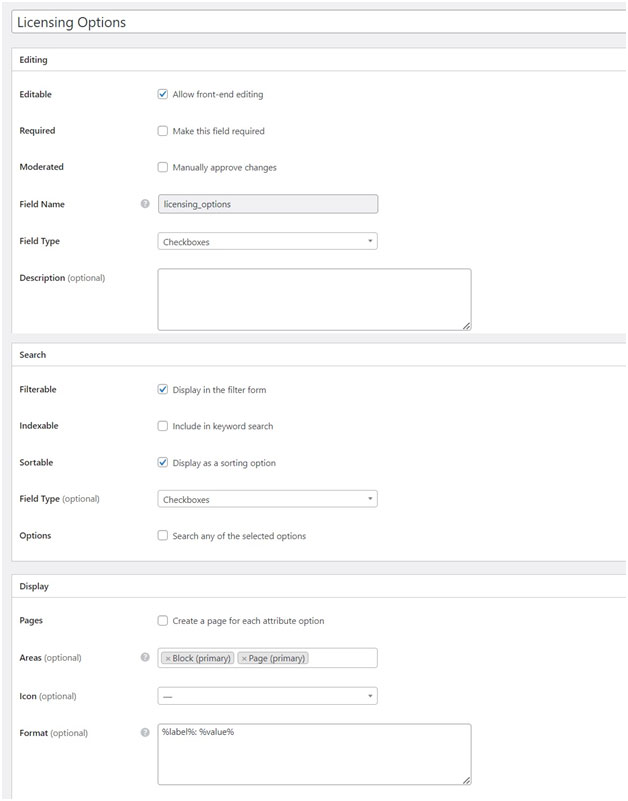
Once categories are settled, proceed by adding custom listing fields. For instance, let’s add the crucial for a stock media marketplace “Licensing Options” field. To do this, go to Listings > Attributes, click “Add New“, and provide the necessary details.
- In the Editing section, define the custom field name and enable front-end editing. Also, make this field required and choose the “Checkboxes” field type.
- In the Search section, you can adjust the field’s search settings. Let’s make it “Filterable” and “Sortable“, and choose the “Checkboxes” field type.
- Display settings control how the field appears on pages. In our case, let’s opt for Block (primary) and Page (primary), and use a %label%: %value% format. You can discover all available tokens through the question mark symbol tooltip.
Upon completion, hit “Publish”.
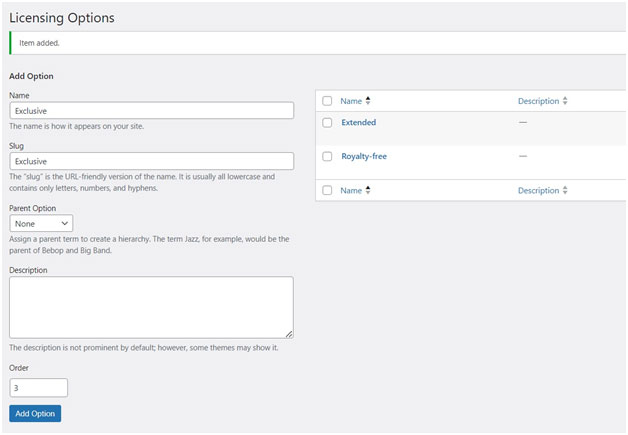
Once it’s published, the “Edit Options” button will appear. Click on it to add the available options. Let’s add “Royalty-free“, “Extended“, and “Exclusive” licensing options.
Remember, there’s no limit to the custom fields you can include. Moreover, you can assign some fields to a specific category by selecting the required category when adding a custom field. This customizable approach allows you to tailor your stock media marketplace to meet a variety of information needs.
Creating Pages and Customizing
Now, we need to create an appealing homepage for your stock media marketplace. Crafting one is pretty easy with HivePress, thanks to its seamless integration with the WordPress block editor. Head to Dashboard > Pages, click “Add New“, and write the page title, like “Home“. Start incorporating layout blocks by clicking the Plus icon and choosing desired blocks such as “Listing Search Form“, “Categories“, and “Recent Listings“. After creating your preferred layout, click “Publish“.
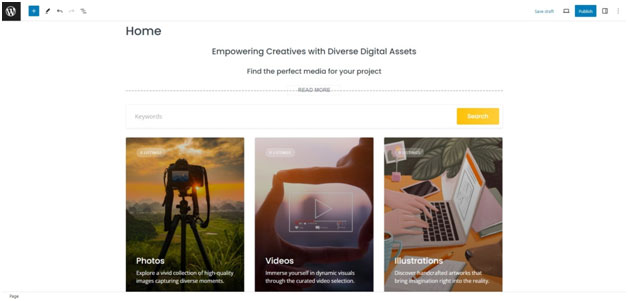
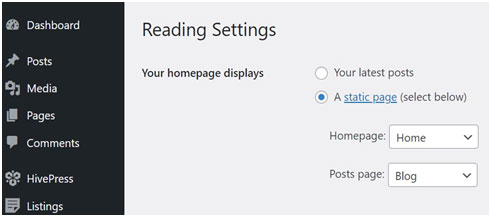
After this, go to Dashboard > Settings > Reading. Here, select the page you’ve just created as your website’s homepage.
For more customization, visit your site from the Dashboard and hit the “Customize” button. Here, you can adjust various elements to align with your preferences, creating a distinctive online presence. You can also add menus, widgets, and other enhancements for a better user experience. Check the tutorial video below for comprehensive guidance on this process:
Setting Up and Extending Functionality
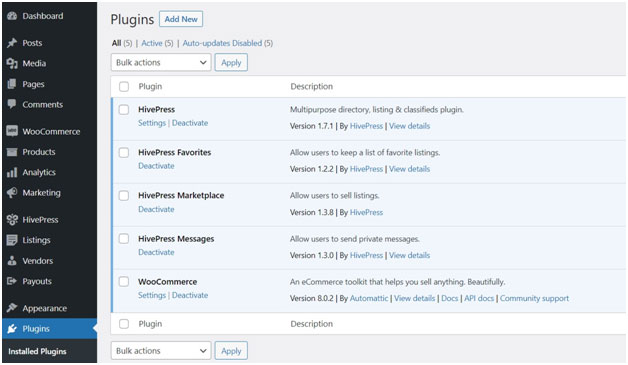
Next, we need to set everything up so our stock media marketplace can function properly. First of all, let’s install the essential extensions from the Dashboard > HivePress > Extensions section: Marketplace, which will allow users to sell listings; Favorites, which will enable users to keep a list of favorite listings; and Messages, which will allow users to send private messages. Secondly, search for WooCommerce, the most popular e-commerce plugin, in Dashboard > Plugins > Add New and install it as well. This plugin will equip your stock media marketplace with the necessary e-commerce functionalities.
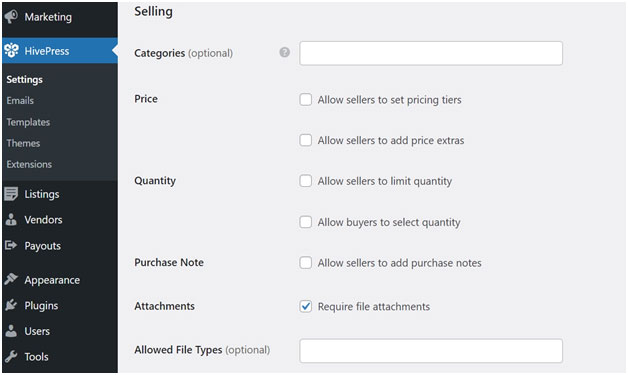
Also, we need to let users download the purchased media. To do this, enable the “Attachments” function in the Dashboard > HivePress > Settings > Listings section.
Adding a Listing
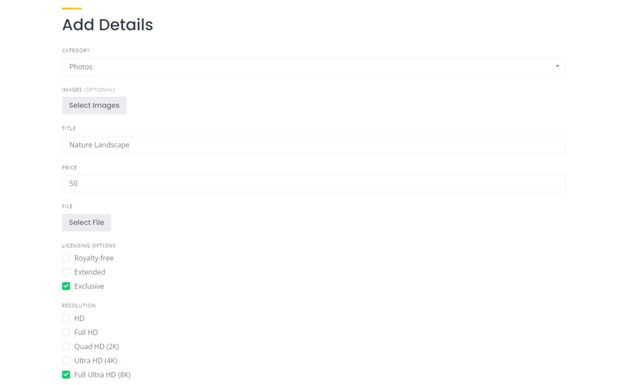
Now, let’s see your stock media marketplace from a user’s point of view. Visit your website and click the “Add Listing” button. Input all the necessary information, including the custom fields you’ve set up.
Afterward, return to the Listings section in your Dashboard and approve the submitted listing. Remember, you have the option to deactivate manual approval in the Dashboard > HivePress > Settings > Listings section. Once the listing is live, users will be able to access it.
And that’s it! Now you know how to create a stock media marketplace with a basic functionality.
Monetization
As your online marketplace gains traction and attracts a substantial user base, the idea of monetization naturally comes to the forefront. Consider the following strategies to generate revenue from your platform:
- Charging commissions – One of the most straightforward approaches is charging a commission on successful transactions. You can charge service providers, customers, or both. Every transaction processed through your site can contribute to your revenue stream.
- Charging for adding listings – You can offer users different listing packages. For instance, you might offer a free package with a maximum of five listings, a premium package with 20 listings, and an unlimited package that removes all restrictions.
- Charging for promoting listings – Also, you can provide an option for users to promote their listings on your website and charge a fee for it. Featured listings gain higher visibility and are showcased at the top of search results, offering increased exposure to potential customers.
Remember that successful monetization should strike a balance between generating revenue and enhancing user experience. Each strategy should align with your marketplace’s unique offering and cater to the needs of the users.
Conclusion
And that concludes our guide! As you see, building a stock media marketplace with WordPress is easy, even without a background in coding. Armed with the right tactics, your marketplace has the potential to evolve into a bustling online hub. So, why wait?