Everything about your brand should reflect your company’s personality. This goes for both business owners and freelancers. Everything from the logo to the colors being used on your website identifies you as a business. That includes the type of font used in your written material. If you are a web or graphic designer, then you must use Adobe Illustrator to create customized fonts in order to stand out in a crowd. This is one of the most essential skills that you need to develop.

Small businesses tend to stick with specific fonts on their logos, but sometimes the ones that are creative and tap into custom fonts normally convert higher, if they do it the right way. The key for small businesses today is to stand out. If you don’t stand out, then you might as well not exist. The market is flooded with businesses all fighting for attention.

In the beginning, it’s not a big deal, but as you develop and grow, you’ll want to start investing in some unique fonts. There are three options here:
- Hire a provider like the Back Office Pro Professionals to design a font for your business. This could prove a little expensive, but it also guarantees that you get an amazing font.
- Buy the font outright. This puts you at risk of there being similar fonts since designers who sell fonts often create several that follow similar styles.
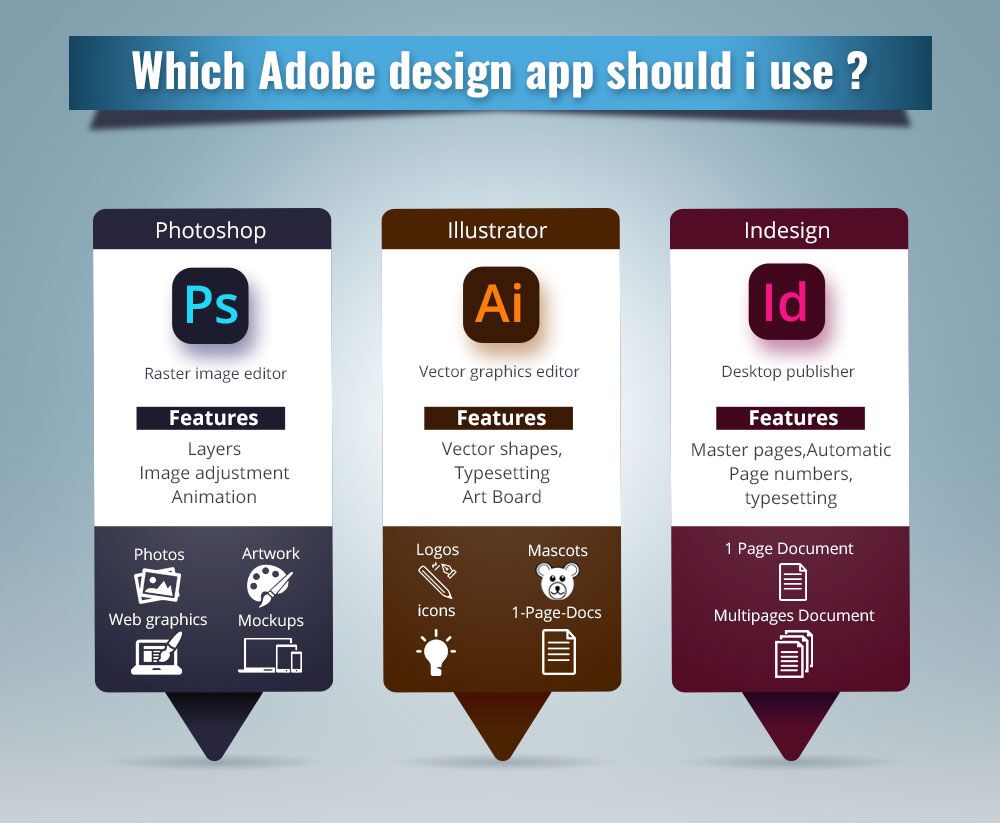
- Use Adobe Illustrator to design your own custom font. This is the most affordable option, but it also requires the highest level of skill.
This post will show you how to do the latter.
Guide to Creating your Own Font Using Adobe Illustrator
Step #1: Plan your Design and Get Started
Obviously, the first step is going to be to plan your design so that you have an idea of where to start. Now draw a few sketches on paper. These do not have to be perfect, but they need to give you a general idea of the style. Sketch out the entire alphabet and all numbers. Include punctuations if applicable.
Step 2: Import your Sketches into Adobe Illustrator
- Create a Grid Layout so that you keep the height and width of letters the same. Scan the sketches, save them, and then import them into Adobe Illustrator.
- Before we get started on the vector creations, let’s prepare the image. Open the image file in Adobe Illustrator. Then select the Image Trace panel and update the following settings: • Preset
• View
• Mode
• Threshold - Now you can select the Trace option from the menu, and you will be shown a preview. Note that if you happen to have Previews Enabled, then this happens automatically. Your drawing will instantly be traced as a vector image.
- Now use the tools to Select the image that you just traced. Select Option and Expand. This should expand the selected traced image into a vectored object. The next part is a little tricky. You will want to select Ungroup from your options and then use the tool labeled as Magic Wand to select all the objects that are filled with white. Delete them. The goal is to be left only with black letters.
Step 3: Create a New Document with Your New Letters
- Select Create a New Document from the main menu. You will want to take your best guess as to the size of your letters. This might take some trial and error.
- In this new document that you just created, Import or, Paste your letters. Then you want to ungroup them so that you can customize each letter individually. You can use the feature called Gridlines to make sure each letter is the same height.
- Open the Artboard and place a letter into it. Scale the letter to fit appropriately in the gridlines.
Note that all the glyphs that you are creating are automatically organized within the Layers panel. As you define each shape, you will see new objects being added to the list. Try to keep this as organized as possible.
Step 4: Redefine Letterforms
Now you will have a choice of what to do with each letter.
- If you are happy with the shape and look of the letter, then you don’t have to do anything.
- Use the Shape tool to adjust.
- Use the Pencil Tool to sketch outlines onto the letters. This is entirely optional.
- Use the Blog Brush Tool to smooth out the letters.
Step 5: Redraw Letters in Adobe Illustrator
- Now that you have a template to work with, you can redraw these letters so that they are in digital format. Using the Layers List, select a letter. You will need to customize a Brush to use that matches the look of the letters. Now you can simply use the Brush to draw over each letter.
- When you have finished a letter, hide each layer, and move onto the next. You should also name these, so they stay organized.
- Place each letter above the next, hiding those you’re not working on now in the Layers panel.
Step 6: Export your Fonts to SVG Files
- By this point, you will have all your letters created so now you just need to export them into SVG files. Again, make sure you keep them organized properly. Save each glyph as a separate SVG file.
- Create a folder where you can save each file.
- Name each file with the appropriate letter.
Congratulations! You Did It!
Now you have all the files necessary to create your own custom font. With that said, I know that this whole process is highly technical and might seem like more trouble than it’s worth. But if you can push through it, having your own custom font will pay dividends in the long term. However, if you are having trouble with the technical stuff, then consider investing in a team like the Back Office Pro Professionals to help!
