An author box is a set of names, website links, social links, of the author that can be shown on top or bottom of the article. An author box is a great way to engage with your website visitors. The author box allows visitors to see the blog author and if they want, they follow him/her.
An author box is also a great option if you have more than one author or guest author. As guest author websites have many authors from different sites, it is fair to give them credit. The author box helps us in this regard.
The author box also allows adding social links of the author which means everyone can connect with the author socially. Sound well!

How to create an Author box:
You can create an author box using HTML, CSS, as we are working with websites. Also, millions of websites owner prefer WordPress as their content management system (CMS). But you can also create an author box using coding.
If you are using WordPress, you may work with plugins. Plugins basically help so much complex work to convert into a one-click function. Many WordPress themes don’t have a proper author box. So, if you want an author you can either use a manual method i.e. coding (HTML, CSS), or use a plugin.
Creating an author box manually takes tons of your hours and you may not focus on other works of your website. Also, this is a complex process and you should have a proper skill of web development to add an author box.
The other method is very simple and is highly recommended. That is to use a plugin. Here a question arises. Which is the best author box plugin out there?
After trying so many author box plugins, we found a simple to use and most affordable plugin. We found the Simple Author Box plugin is the best functionalities easy-to-use plugin.
Why it is highly recommended? Let’s talk about the Simple Author Box in detail…
Simple Author Box
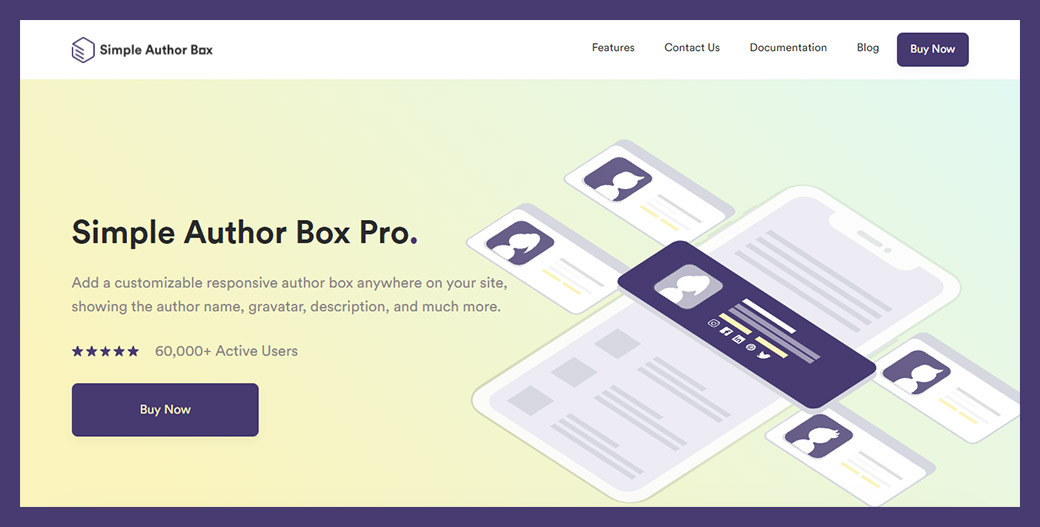
Simple Author Box is the most known and widely used author box plugin for WordPress. It has 60,000+ active users. It is available in both free and PRO plans. We’ll discuss its feature and how to use this plugin in detail, and then decide which will work best for you – Easy plan or you have to go with Pro Plan. So keep reading.
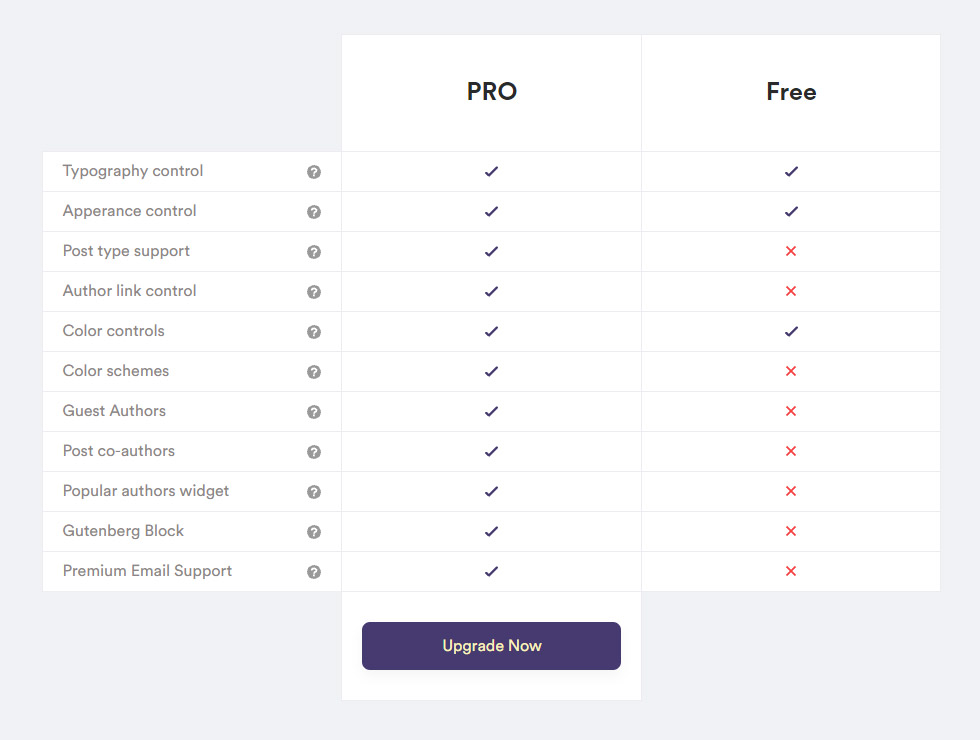
Simple Author Box gives so many editing features to make the best out of the best author box that fits perfectly to your site theme. Some of the features are not available in the free plan but the free plan also gives a basic important feature for editing the box. For simplicity, check the following table for a free plan and the pro plan features.
1. Appearance:
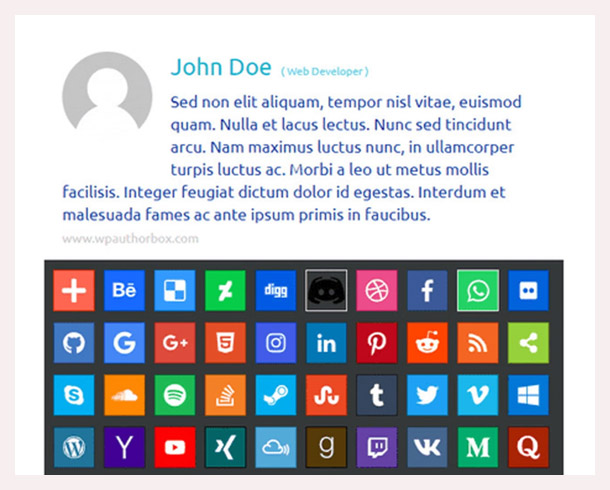
The simple Author box allows you to edit the default author box in whatever color or shape you want to be. Everything from color changing to font family, padding to margins, border styling, changing avatar style, you can do it in a single click. You can also add social links, as the Simple Author Box provides 45+ social icons.
You can change the background image of the author box image with a one-click. There are also Some PRO features like the author’s website link and allow the link to be open in a new tab.
2. Guest Authors:
Guest posting is very trendy nowadays. It helps both the website owner and the guest author to grow online. The website owner has a chance to add more content to their site, at the same time, guest author as a beginner can grow with the help of other websites.
Simple Author Box plugin will help to manage tons of different work of guest posting in no time. You can manage all the blogs by adding guest author’s credentials in the author box. With the pro version, you don’t need to add an author to your WordPress website. You can do it on the author box setting when adding posts to the site.
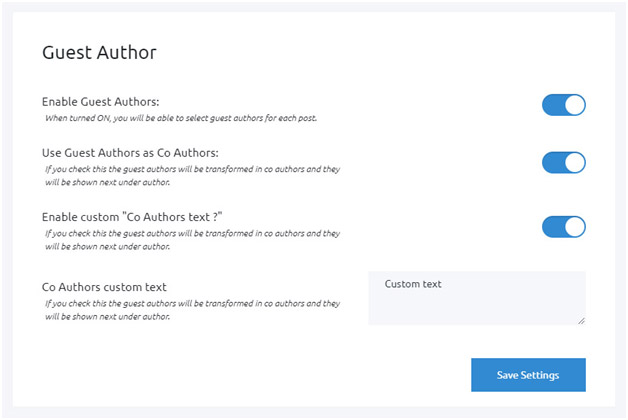
You can also display the guest author as a co-author using the Simple Author Box plugin.
3. Multiple Authors:
If you are using WordPress, you may know adding authors manually takes time. And if you have so many authors, means you have to spend tons of your time managing them. Thanks to the Simple Author box, you can manage multiple authors within the post.
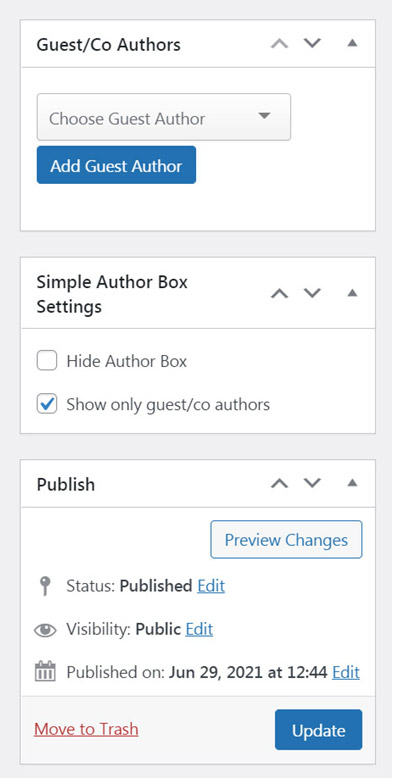
Everything from adding a name, changing profile picture, adding social links, is done using the Simple author box in no time. You can add an individual author box to all the articles very easily in the plugin panel.
4. Rebranding:
This feature of the plugin is just amazing. Simple Author Box allows you to edit the plugin customization. What does it mean? You can edit the plugin name, the logo, and almost the complete appearance of the Simple Author Box plugin.
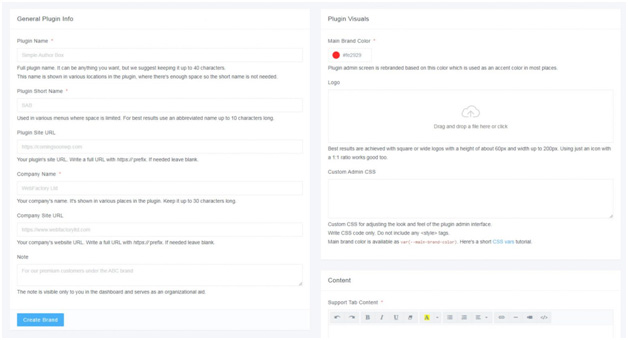
The rebranding also enables other features, like adding custom CSS, color-changing, adding content, and much more. This way you can make the plugin a new look making it a perfect match for your brand’s identity.
5. Adding Custom Tabs:
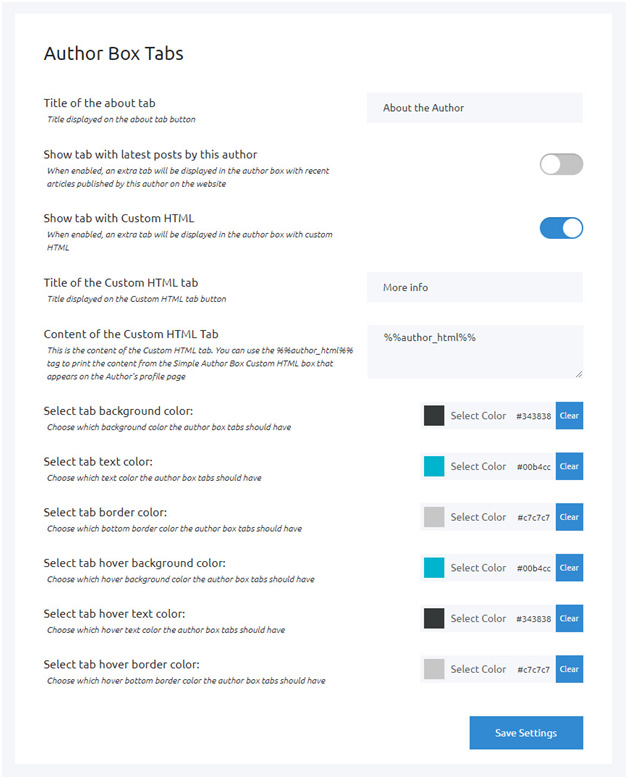
The Simple Author Box plugin comes up with different tabs for customizing the author boxes. However, you can add your custom tabs if you want. All you have to do is go to Appearance -> Author Box -> Author Box Tabs, and you are good to go.
Author Box Tabs have numerous tabs which you can enable with one click. If you have different authors and each author has many posts then there is an amazing feature with the name Show Tab With Latest Posts By This Author. There you can find all the posts of the particular authors with the latest by orders. You can also find other tabs which are very helpful if you want to take the author box to the next level.
Now it’s time to see how to install and use the Simple Author Box plugin. So let’s dive into it…
Simple Author Box Installation
The installation process is very easy. First, you have to purchase the plugin if you want to use the PRO version. Then an email is sent to you where you have a link for login and a username and a password. You have to log in to get the Simple Author Box plugin and you then will have to download the plugin.
After that, you can simply upload and install the plugin in the plugin section of your admin panel.
Now it’s time to see how to use it properly to make the author box perfect for our theme…
Preview:
A preview section, where you can edit the author box customization. Changing avatar image to add a description and adding links, all done in the preview section.
You have also other customization features that you can play around with and create the best matching author box for your brand.
Here is a five-section which should be discussed in detail. So, let’s go through each of these…
Setting:
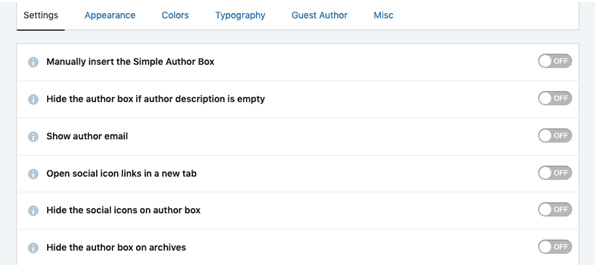
The setting is the first tab you will see in the section bar. Here you can twist and tweak and enable the tabs. Like manually add author box, show author email, etc.
Some of the features are available in only the Pro version like choosing the author box position i.e. At the top of the article, or at the bottom. You can also make the social link to be open in new tabs with the help of the PRO version.
Appearance:
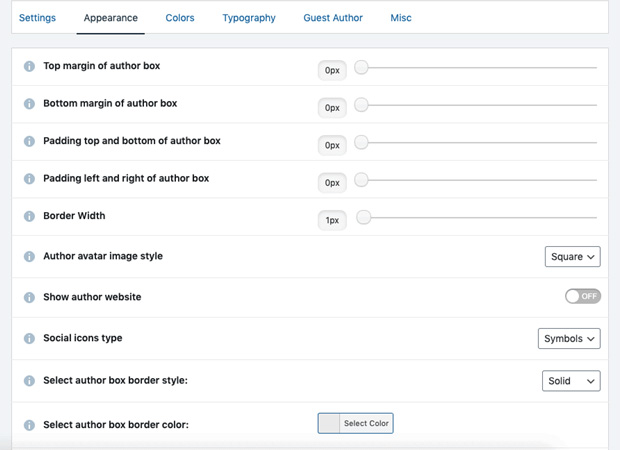
The appearance section will allow you to make the author box looks catchy. You can add margins, padding, changing avatar style, borders, etc. With these features, you can make the author box match your website theme.
The PRO version has also a bunch of other appearance tabs to make the box more appealing. It includes border style and border color which enhance the attractiveness of the author’s box. Here, you can also find different box styles (10) and use that best describe your site.
Colors:
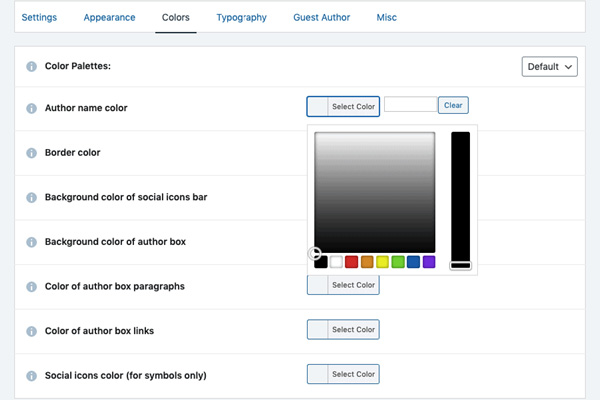
This section is the most important tool for editing the box. With the help of this tab, you can create a natural author box that is best depicts your site. Everything from changing the author name’s color to the background color, social icons color, or description color, will be done in this section.
But Wait! You don’t need to customize the colors of the author box. Why? It’s because the Simple Author box will do this for you. But how’s possible?
Actually, during installation, the Simple Author Box plugin takes some inspiration from your website theme and makes the default author box looks similar to your website theme colors. However, you can edit the colors where necessary because, in the end, your goal is to make the attractive author box.
Typography:
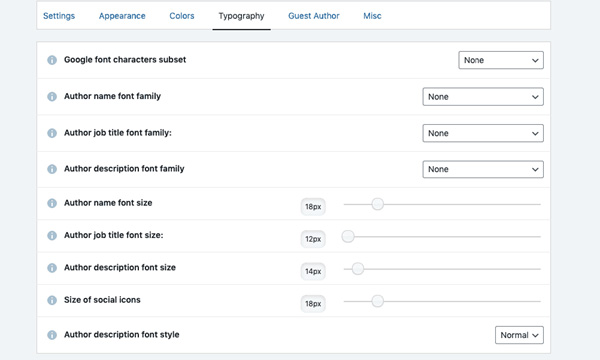
This section is specifically designed for changing the font family, font size, and even changing the icon size. If you are using some special type of font on your website, this will help you to customize the author box fonts.
But like the Color section, Simple Author Box has done this job too! Plugin takes some hints from your WordPress site and makes the default looks similar.
In Pro Version, you have some more important features like changing the font family of the title job(Next to the Name of the Author) and also its size.
Guest Authors:
This section is available only in Pro Plan. If you are accepting guest posts, this will be a great helpful tab for you.
If you manually add all the authors, you will soon be frustrated and also waste tons of time. So, we highly recommended using its PRO version for managing multiple authors with a single click.

Guest Authors will allow you to quickly create the author inside your article. All you have to do is enabling the ‘Author Guest’ tab to ON. As we have discussed before, Simple Author Box will allow you to use the Co-Author feature. Here you can find it.
Another section you will find is ‘Misc’. It will help you to optimize your site CSS. Using this feature, your website optimization speed will definitely increase and helps to rank on Google as you know, Google considers page optimization speech at the top of the list when ranking the sites.
Conclusion:
Adding new Authors constantly to give them credits is a very tiring and time-wasting task. It also messed up your site admin panel. If you are a WordPress beginner and working to grow your online presence, you should load down your website work.
If you are a big company with many authors or you are running a guest post site, Simple Author Box is for you. The Simple Author Box PRO gives you complete control for editing the author box unlike other author box plugin out there.
If you have more than one author working on your site, you should have a Simple Author Box that will give you a quality experience with saving tons of your time.
